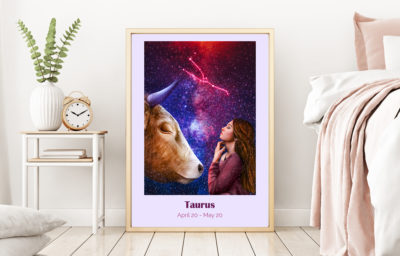
Recently I created new digital artwork from my Zodiac Girls Collection that I’m really proud of. This is scarcely the third piece I made, so I have to draw 9 paintings more to complete the collection (because there are 12 zodiac signs). You can see the other 2 completed artworks and mood boards I used by clicking here.
Today, I came up with an idea to share with you my regular artistic process step by step. I hope that you’ll find here some useful tips that could help you with improving your own digital artworks. So, are you ready to take your art to the next level? 🙂
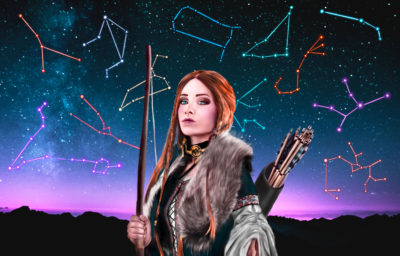
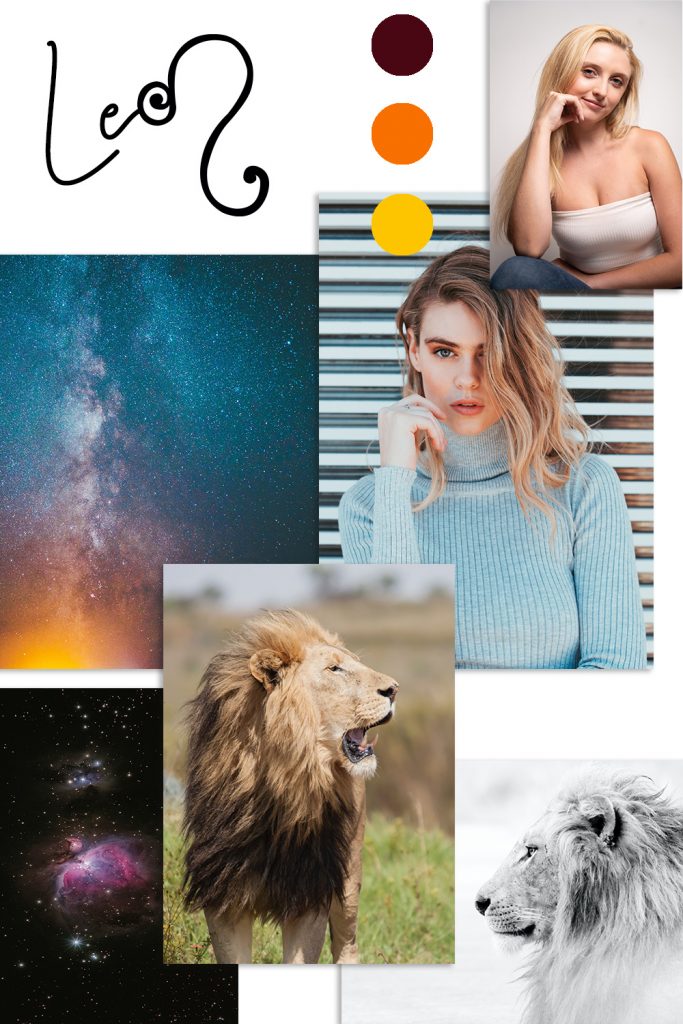
Before I even start drawing I dedicate some time to develop the general vision of the painting in my head. I think about the characters I want to place and where I’d like to put them on the canvas. I choose a bunch of photos from Google or Pinterest to inspire myself. Then I create a special mood board. For me, this is a crucial element in organizing the project.
I chose basic colors I’d like to use in my Leo artwork, some interesting female poses, cosmic backgrounds, and pictures representing lions. In less than 15 minutes I had my mood board that’ll be my second brain during the following artistic process.
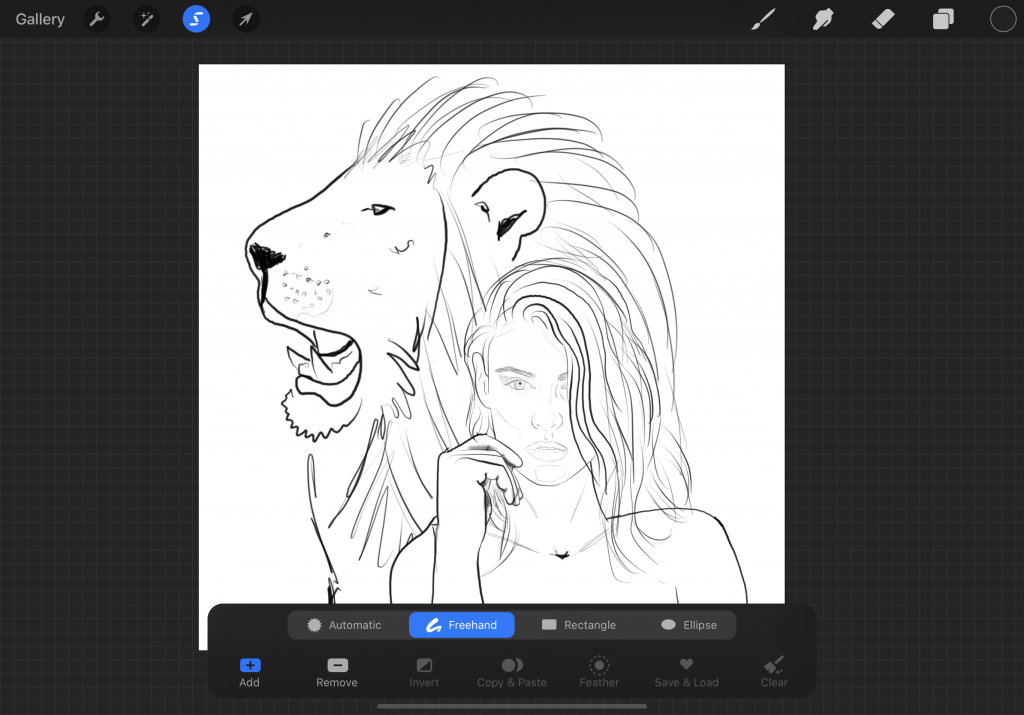
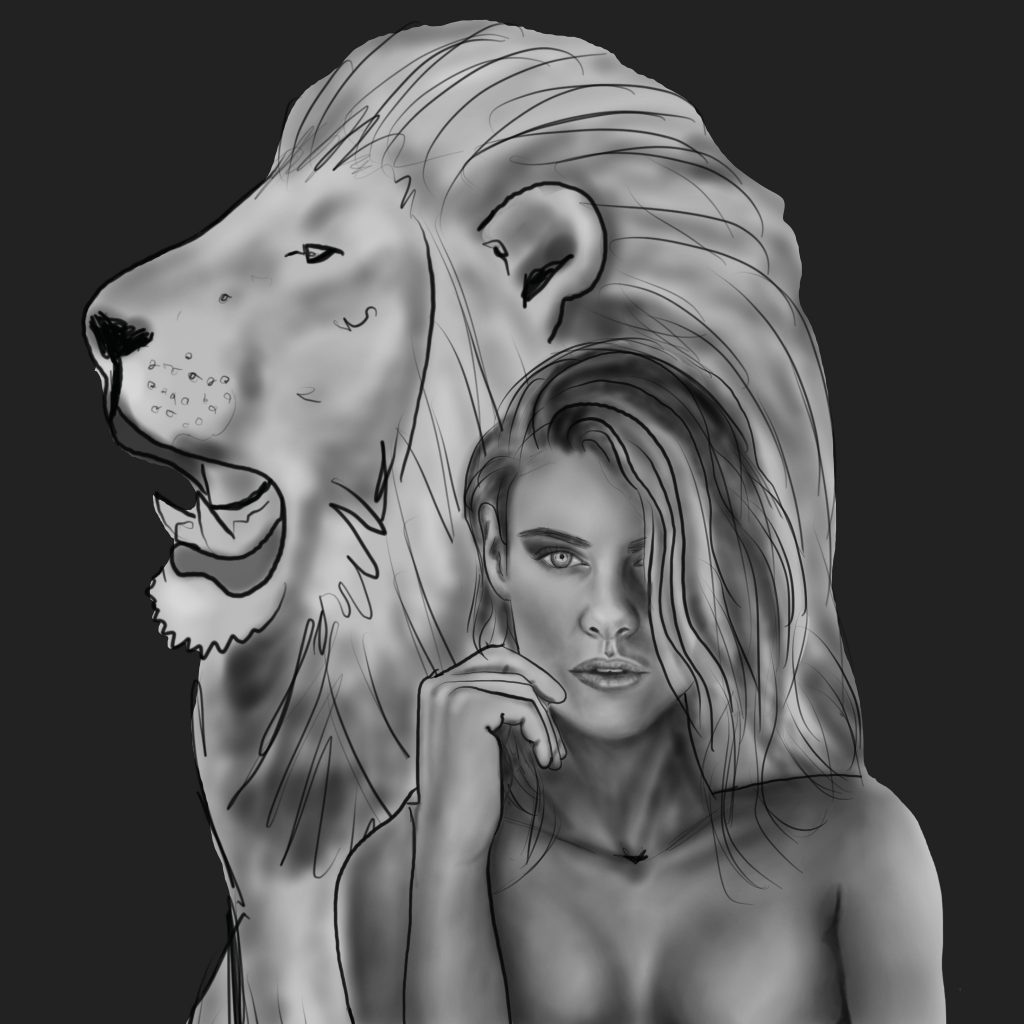
At this stage, I was trying to imagine the poses for a girl and a lion. I wanted the animal to look wild and brave like he’s protecting the girl. I prepared two loose and basic sketches.
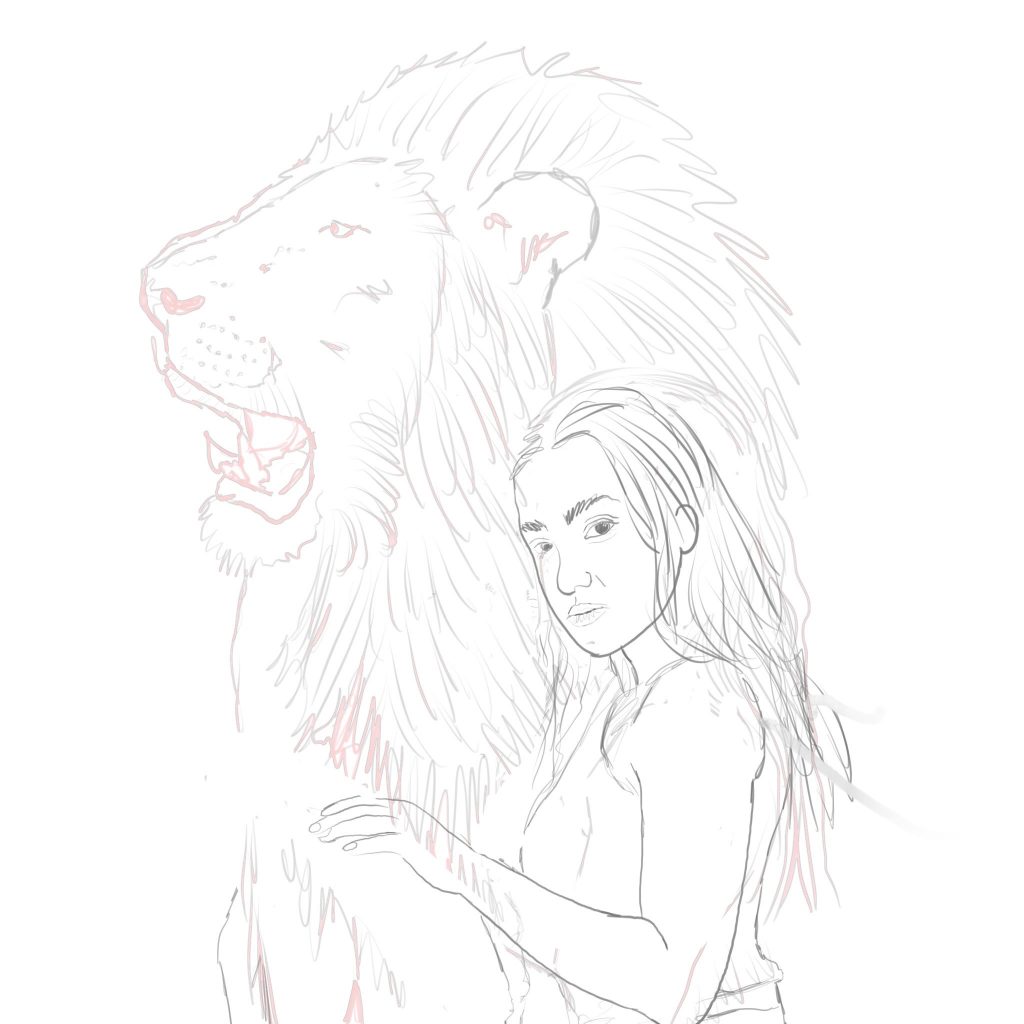
Finally, I decided to use the one with a naked girl with some kind of fearless face expression (on the right) instead of using the one who’s hugging the lion.
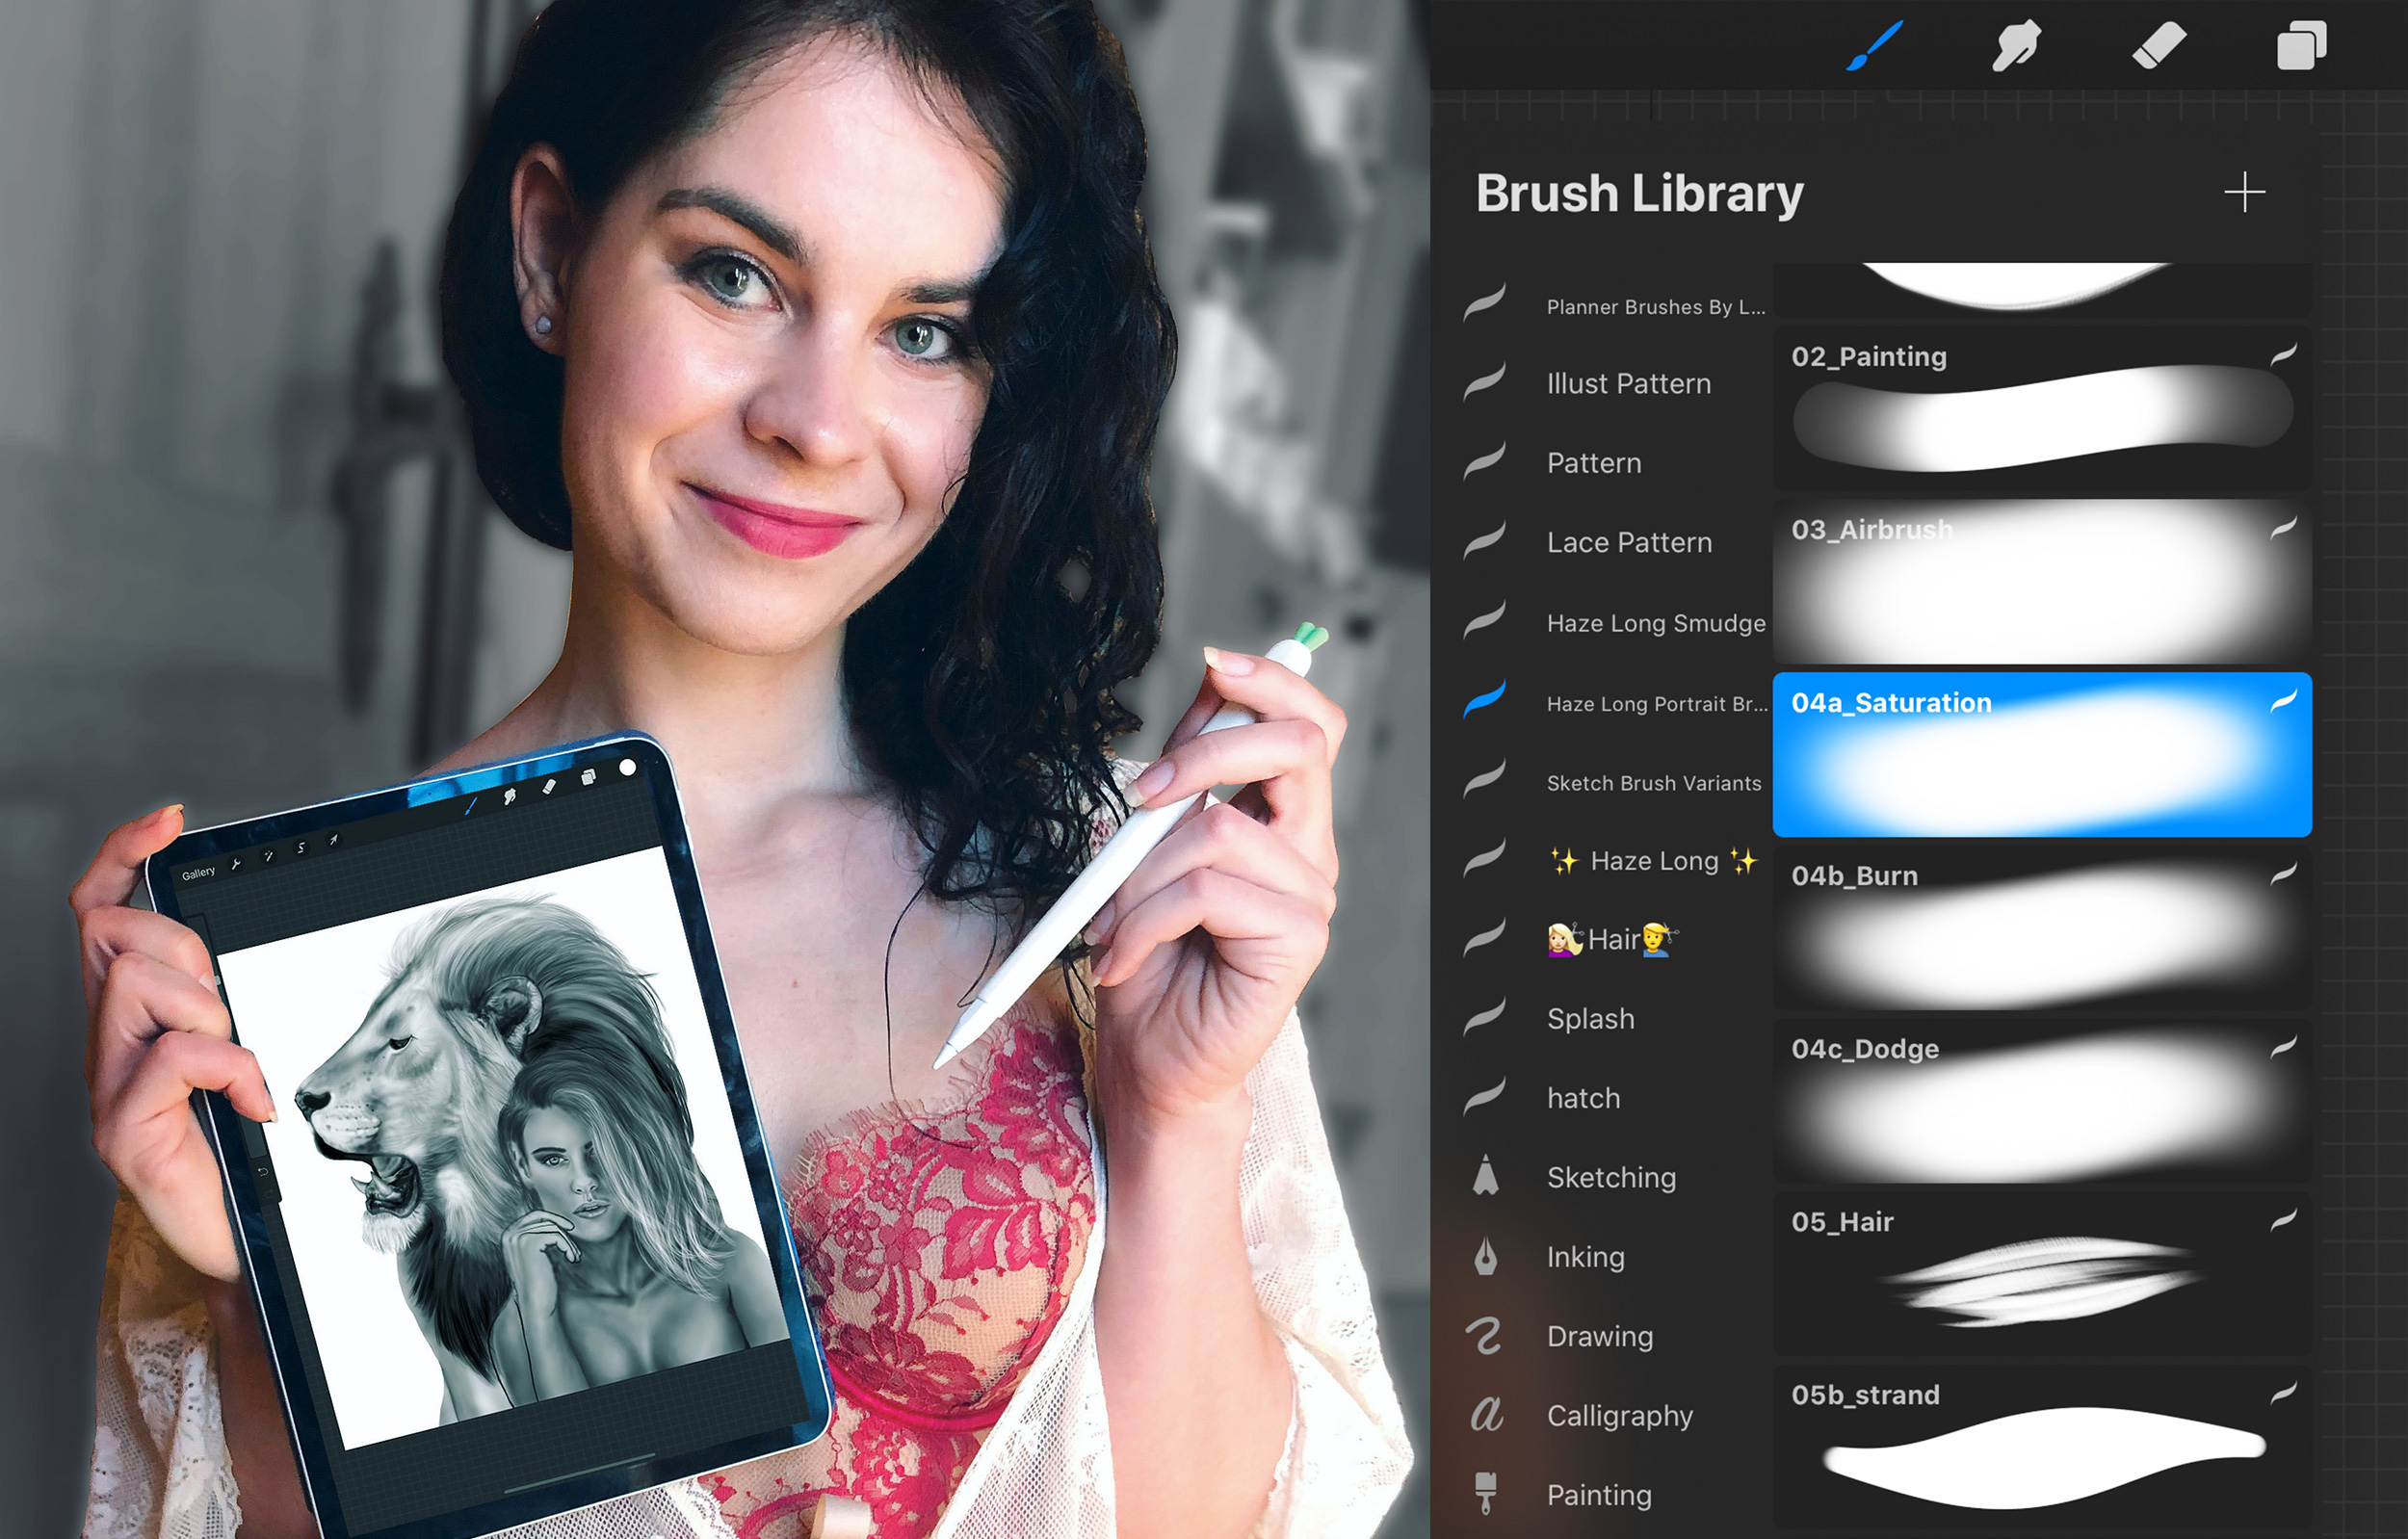
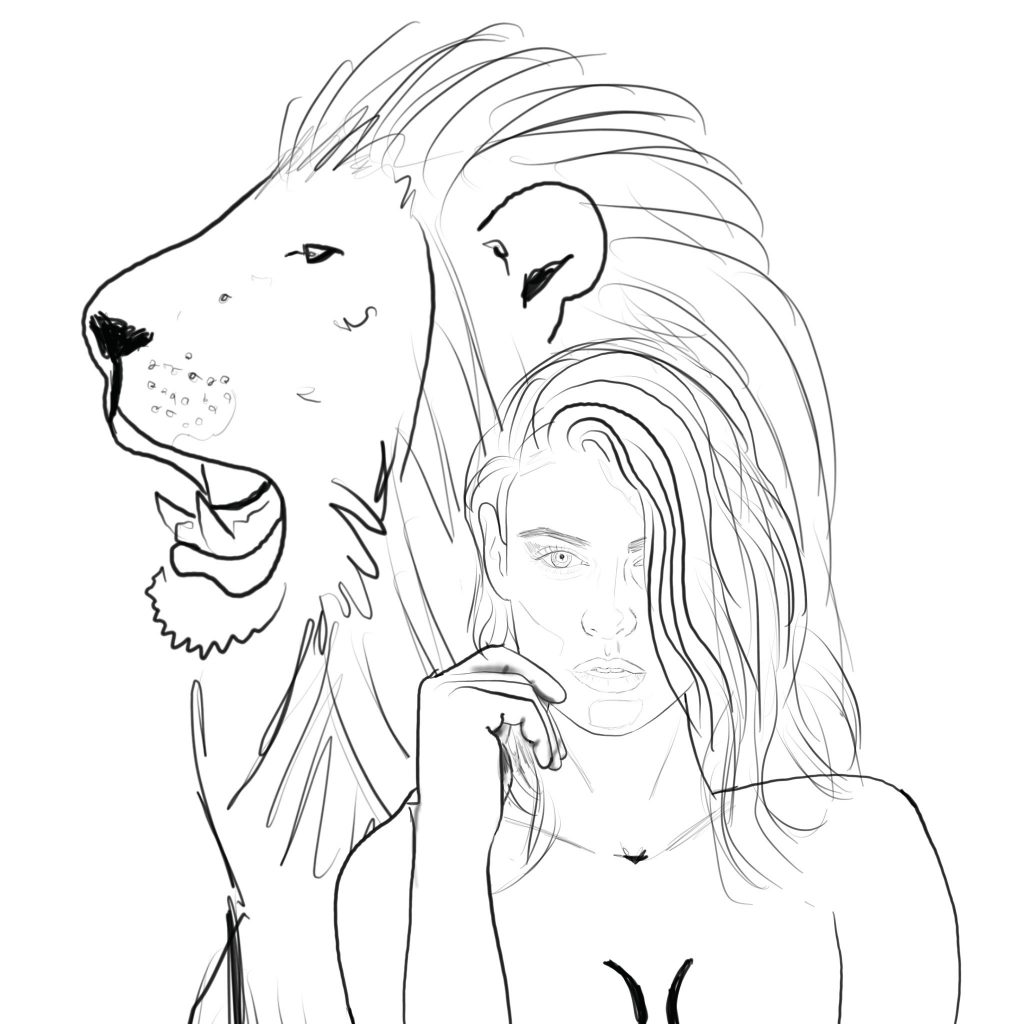
I think this is the best moment to share with you which brushes I decided to use in the process of painting Leo’s artwork. I use the Procreate app on my iPad Pro 11′ for creating most of my digital artworks. I’ve tested a lot of free sets of brushes for portraits so far. One among them deserves to be singled out. It comes from a very talented artist Haze Long. You can grab it here for free. I’ve been using these gorgeous brushes to create most of my recent artworks and I must say that I TOTALLY love them (especially the brush intended for drawing hair)!
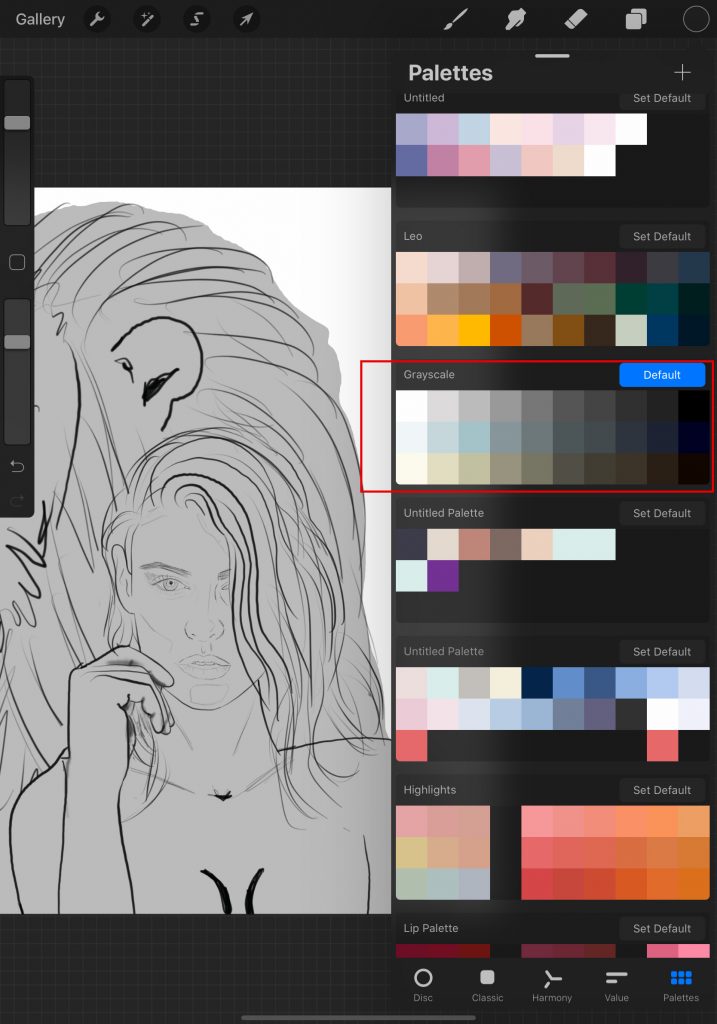
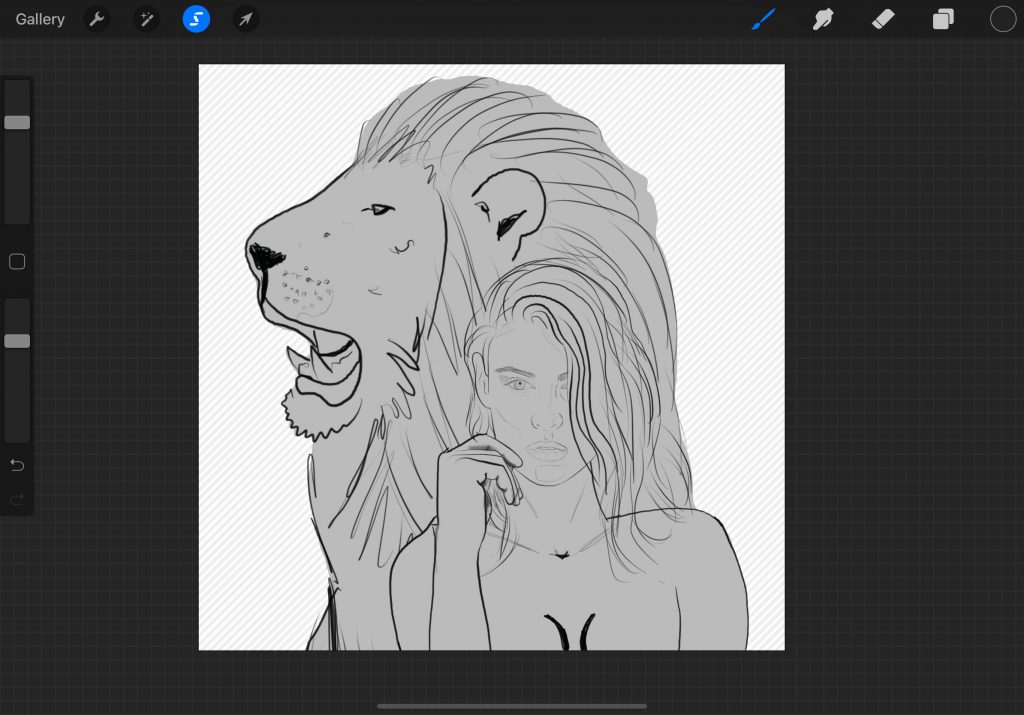
I wanted to draw Leo in black and white at first and color it later, so I chose and set the Greyscale color palette from the Procreate library for that purpose.
Then, I carefully selected the outline of my completed sketch using the selection tool.
Next, I chose a light grey shade from the palette to fill my selected area with color (on the separate layer, under the one intended for sketching of course).
Remember to organize the layers and set up a layer structure. You can also start adding clipping masks on top and build up layers of the picture element. The great thing is that on clipping mask layers, you only paint within the areas that the layer below already contains.
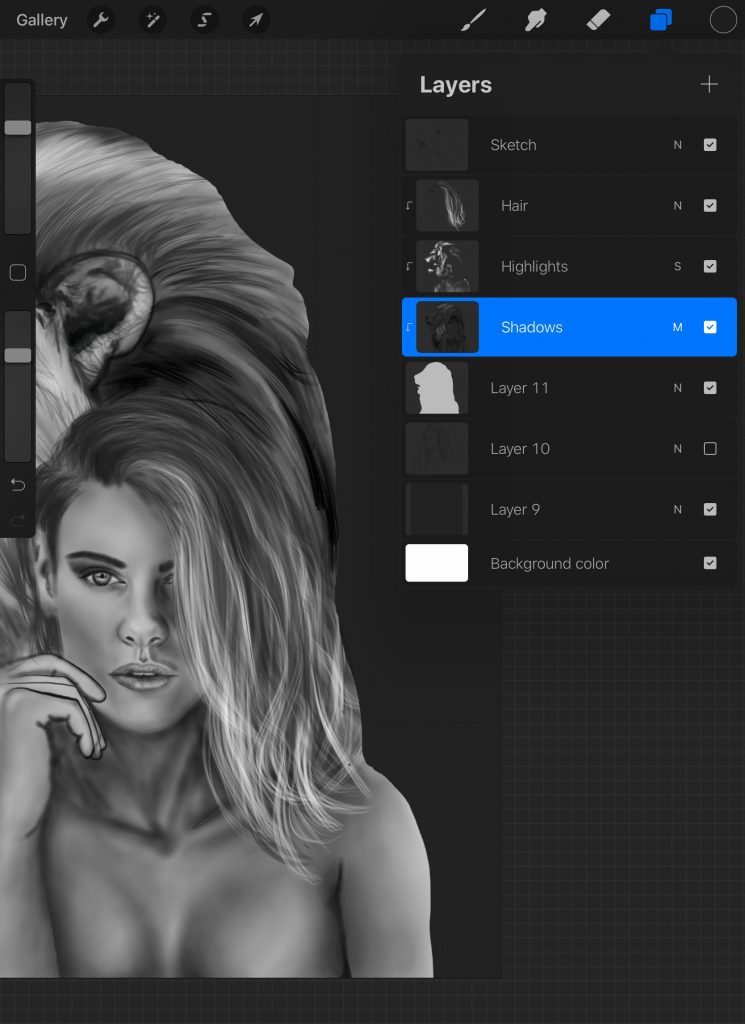
Also, remember to use proper blend modes! You have to trust me that blend modes make a huge difference in the artwork’s final appearance.
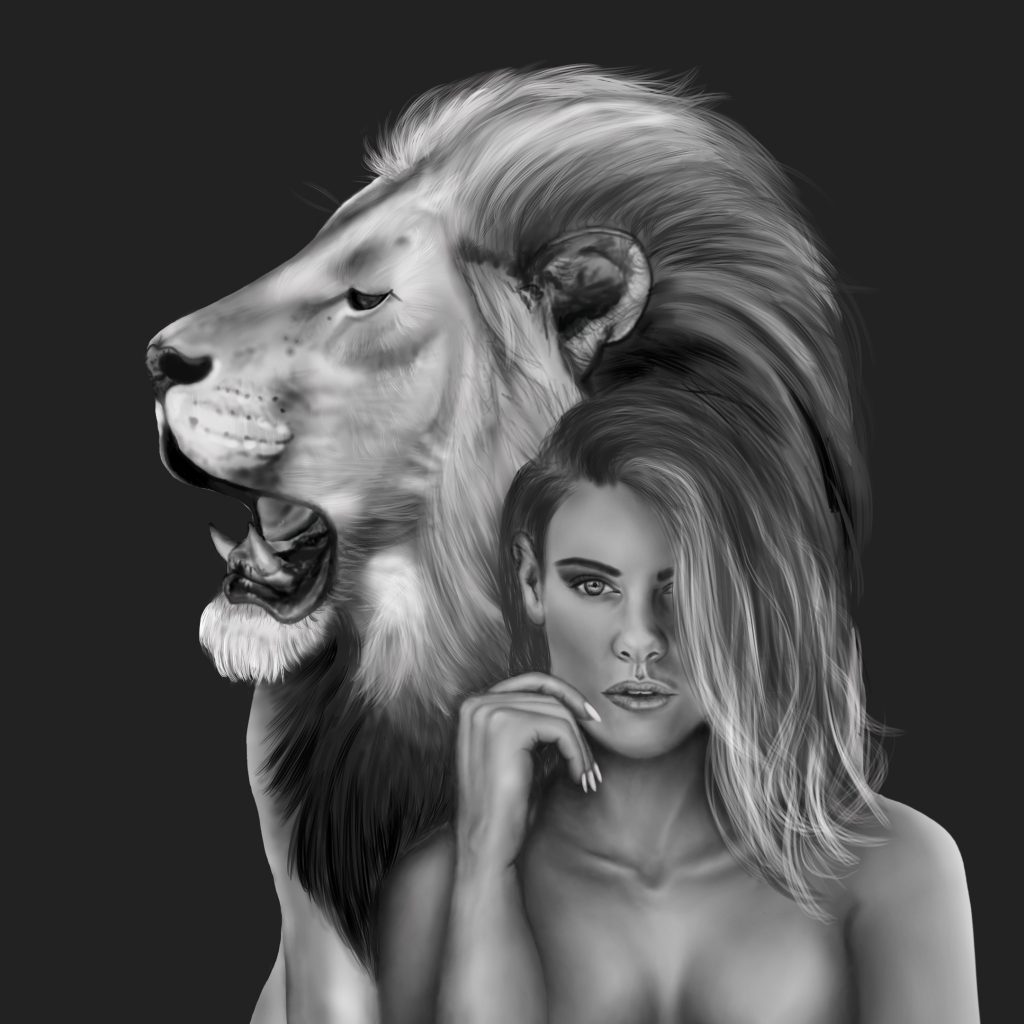
The most difficult and engaging step for me is to shadow and highlight my painting. I always put shadows on my drawing on a separate layer set to Multiply and highlights on another one set to Screen.
Here are some steps I made during this process using an Airbrush from Haze Long’s brush set:
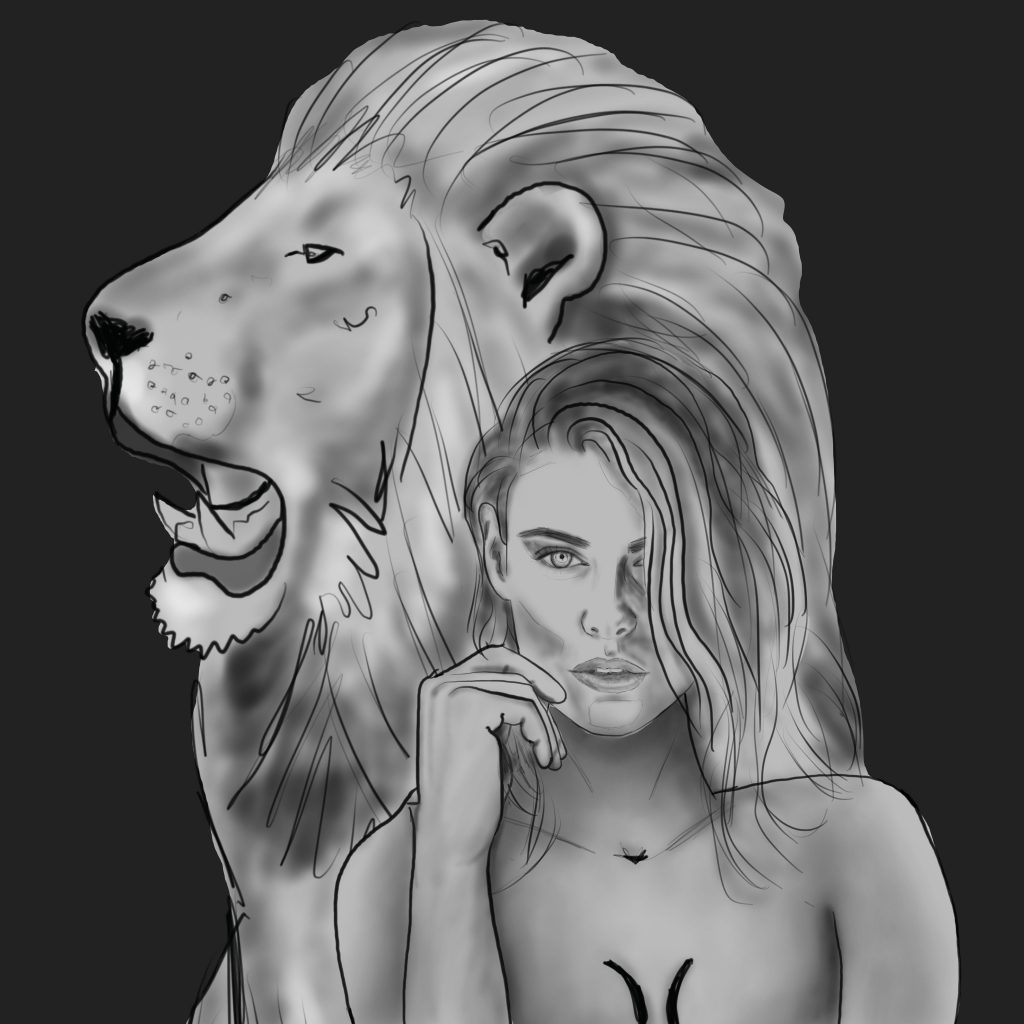
First I took care of shades (then highlights) on big parts of my painting. Then I successively moved on into smaller details.
I always look at my mood-board’s references figuring out where does the light come from?
I also added some details like hair and fur using the Hair brush.
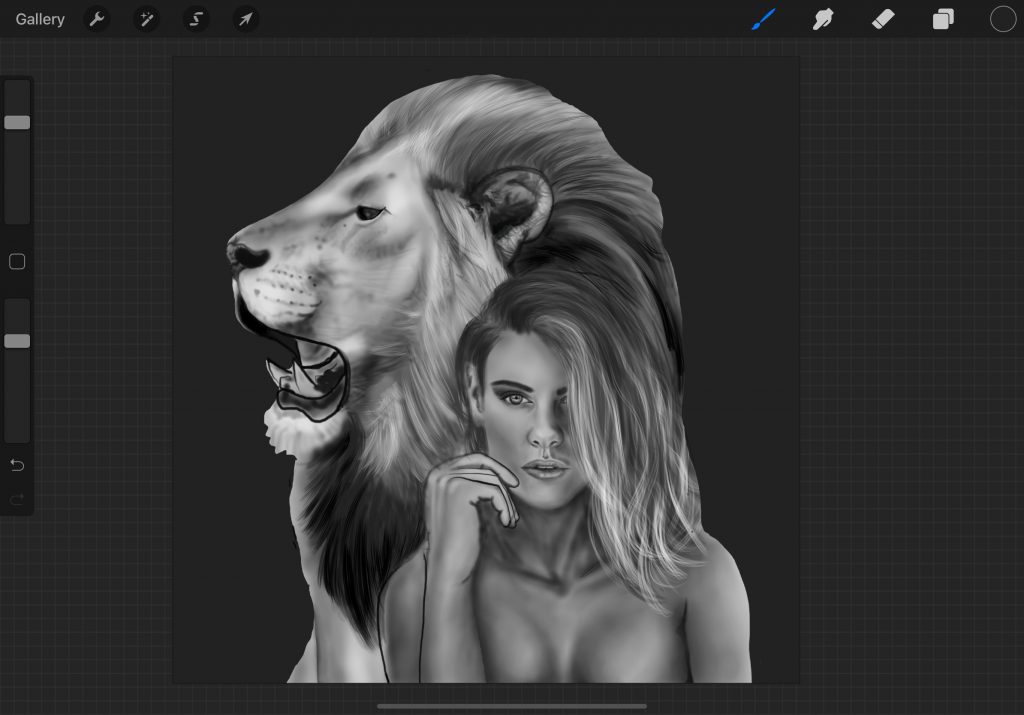
At the same time, I was successively erasing the black lines (piece by piece) from my Sketch layer. I also made some changes in the size of girl’s left arm using the Liquify tool.
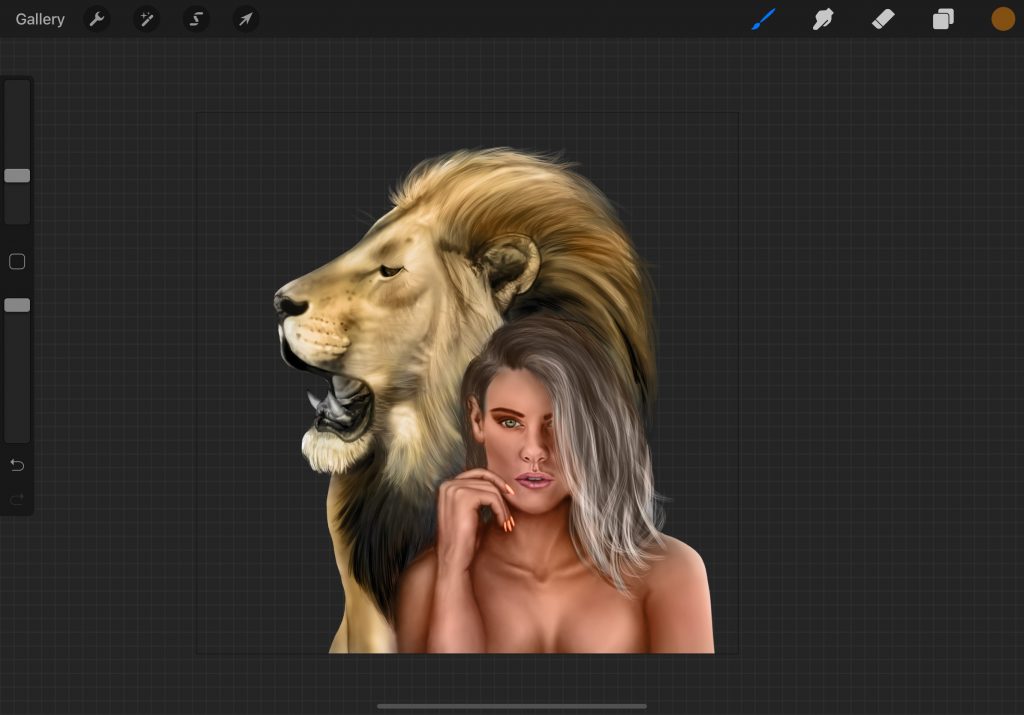
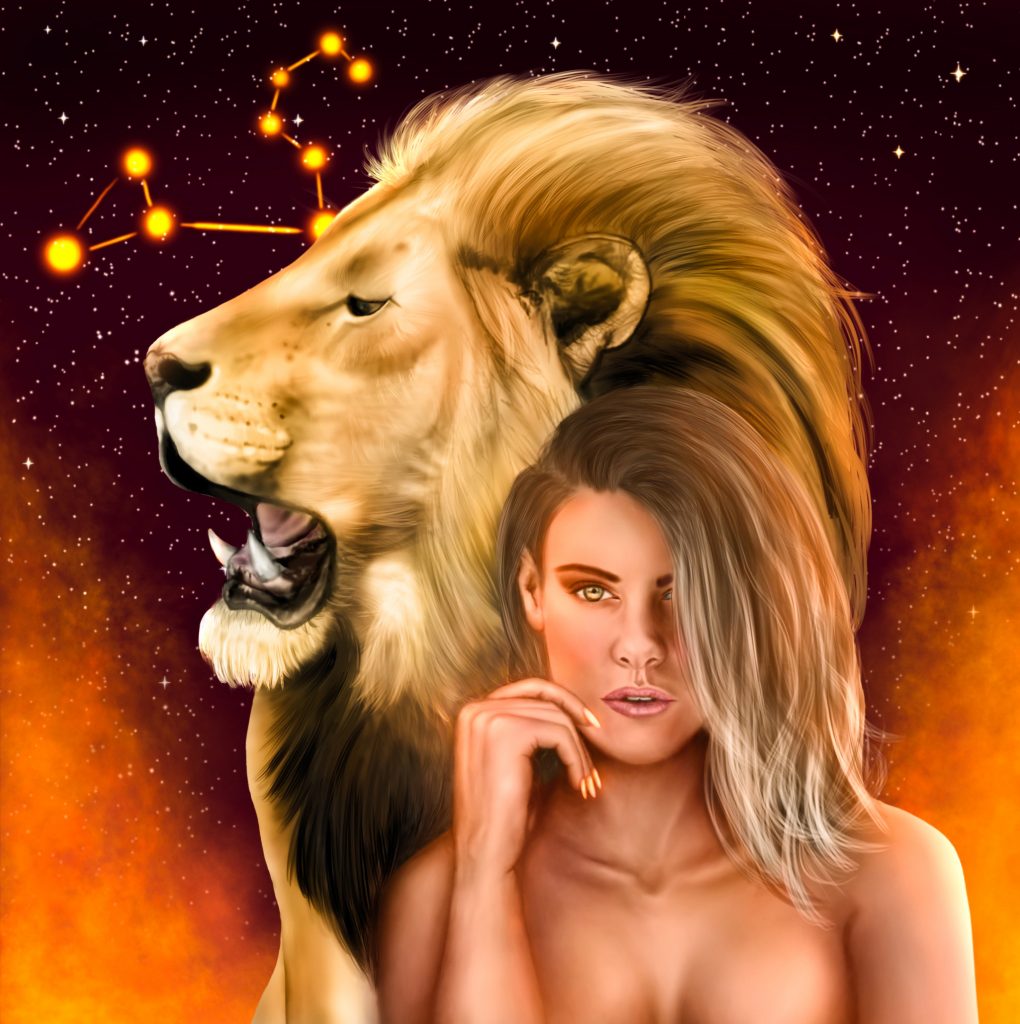
Here is the final effect of Leo in black and white:
Finally, it’s time for the most enjoyable part which is adding colors! The Saturation brush is just perfect for the coloring process. I always experiment with different skin tones to achieve the best result.
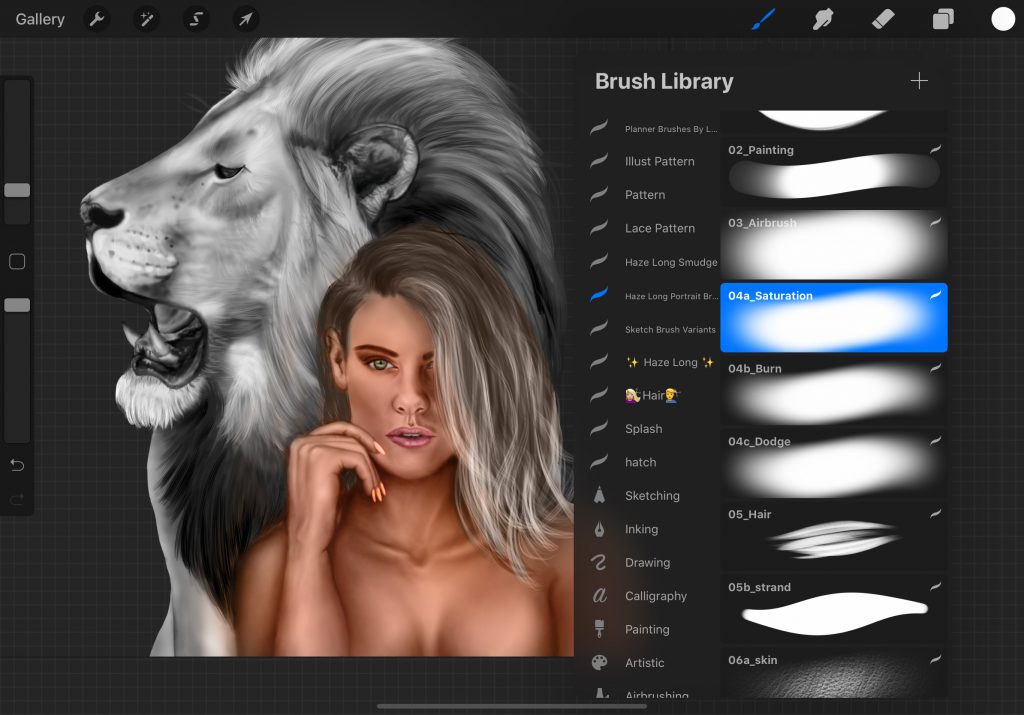
I love playing with colors trying to create something unique and beautiful.
After coloring my characters, I was testing different cosmic backgrounds. I really wanted to choose the most suitable one.
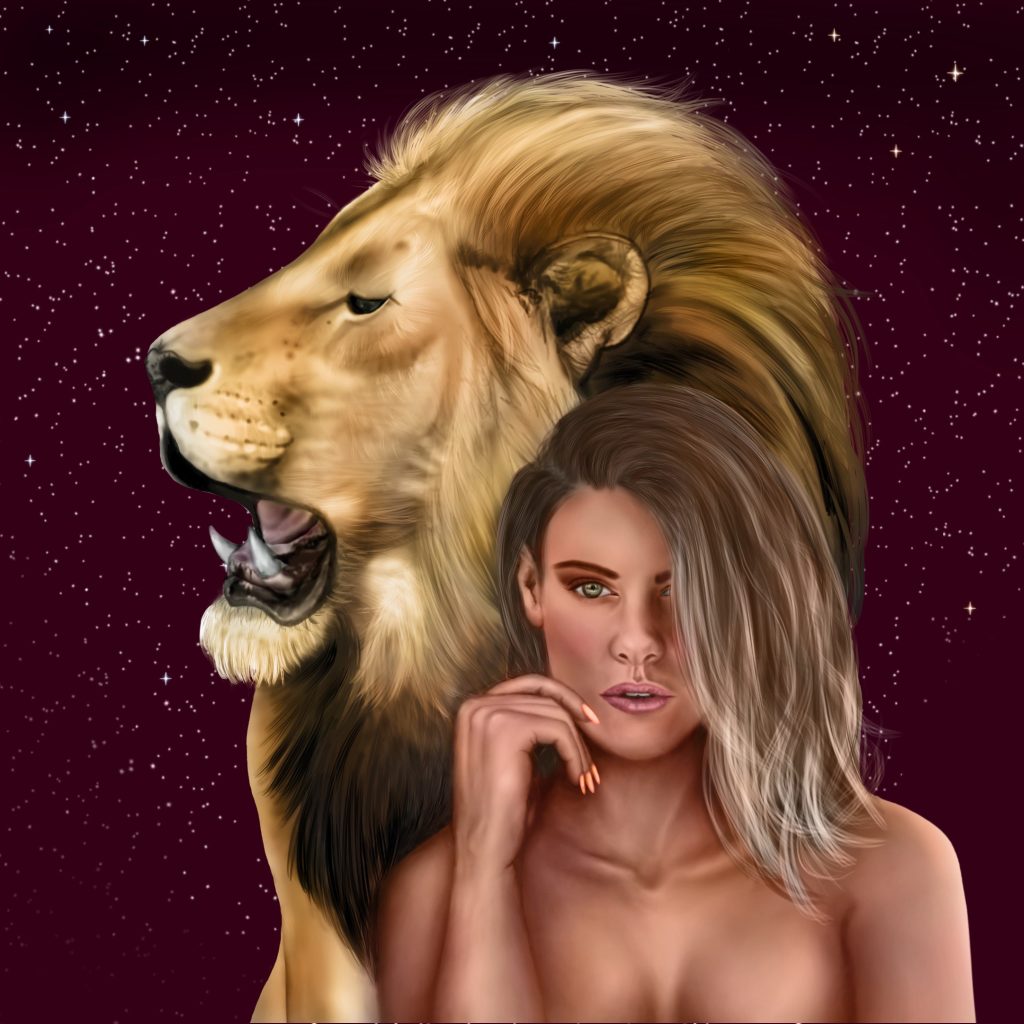
I also added a luminous Leo’s constellation on the sky.
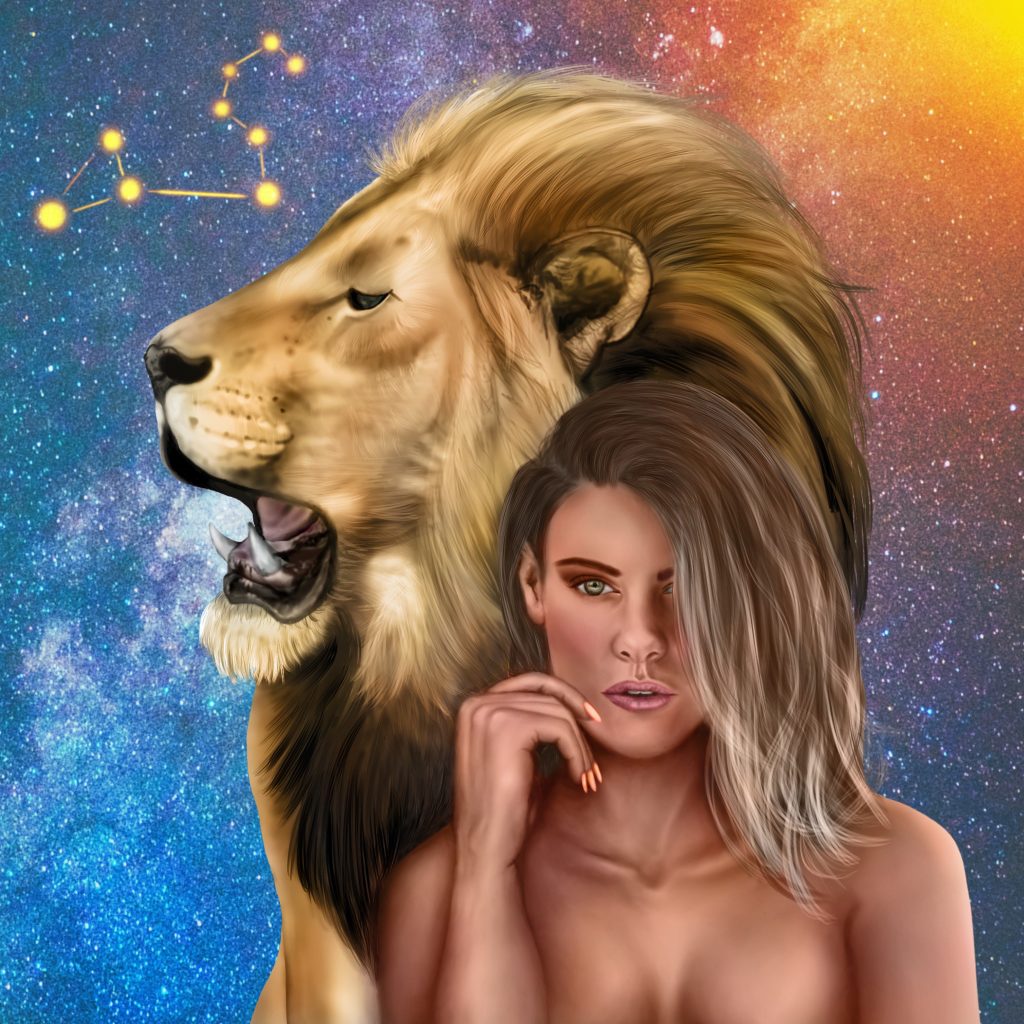
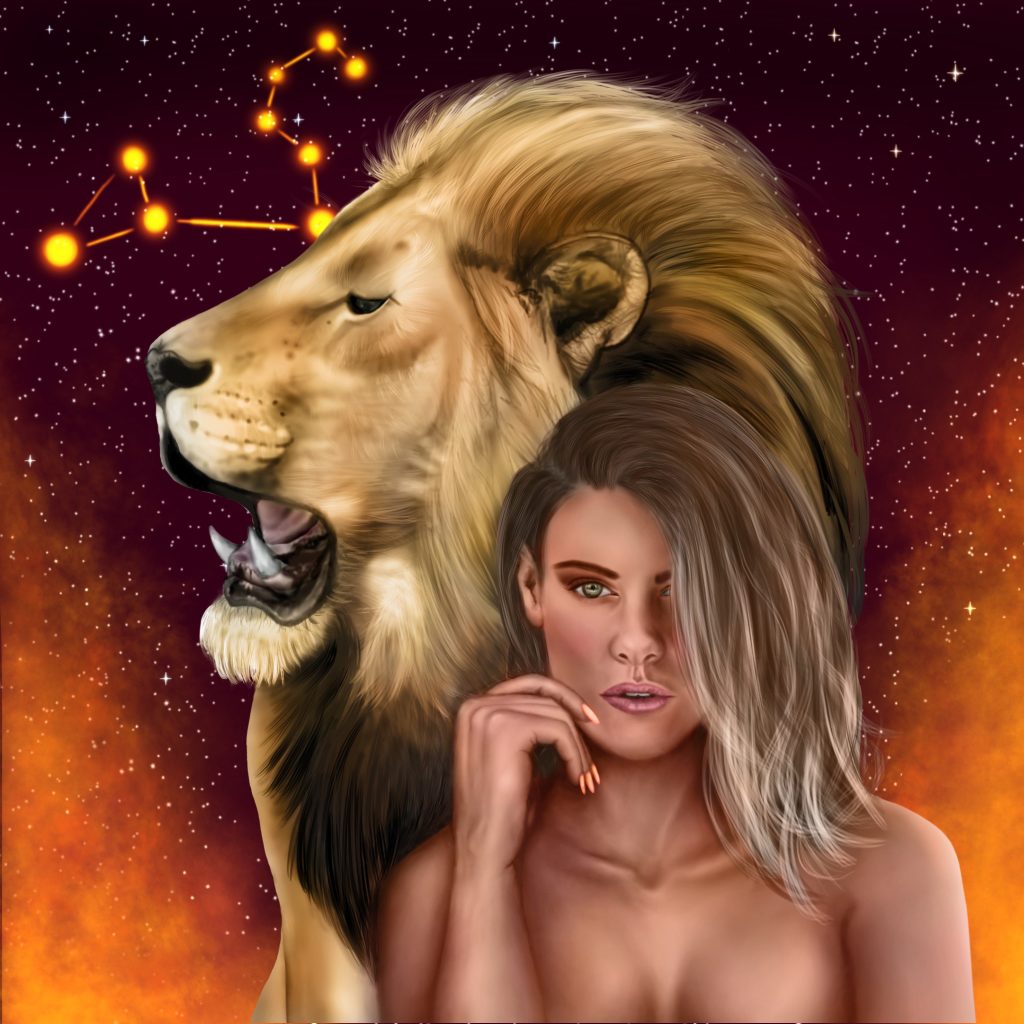
Lastly, I created a new layer, set the blend mode to Add (or Color Dodge), and using the Airbrush in the big size I painted some extra light. I think this effect makes a HUGE difference and the painting becomes more alive. It is very important to use the colors from the environment to achieve the best result. In my case, I used orange lights to match the cosmic fire.
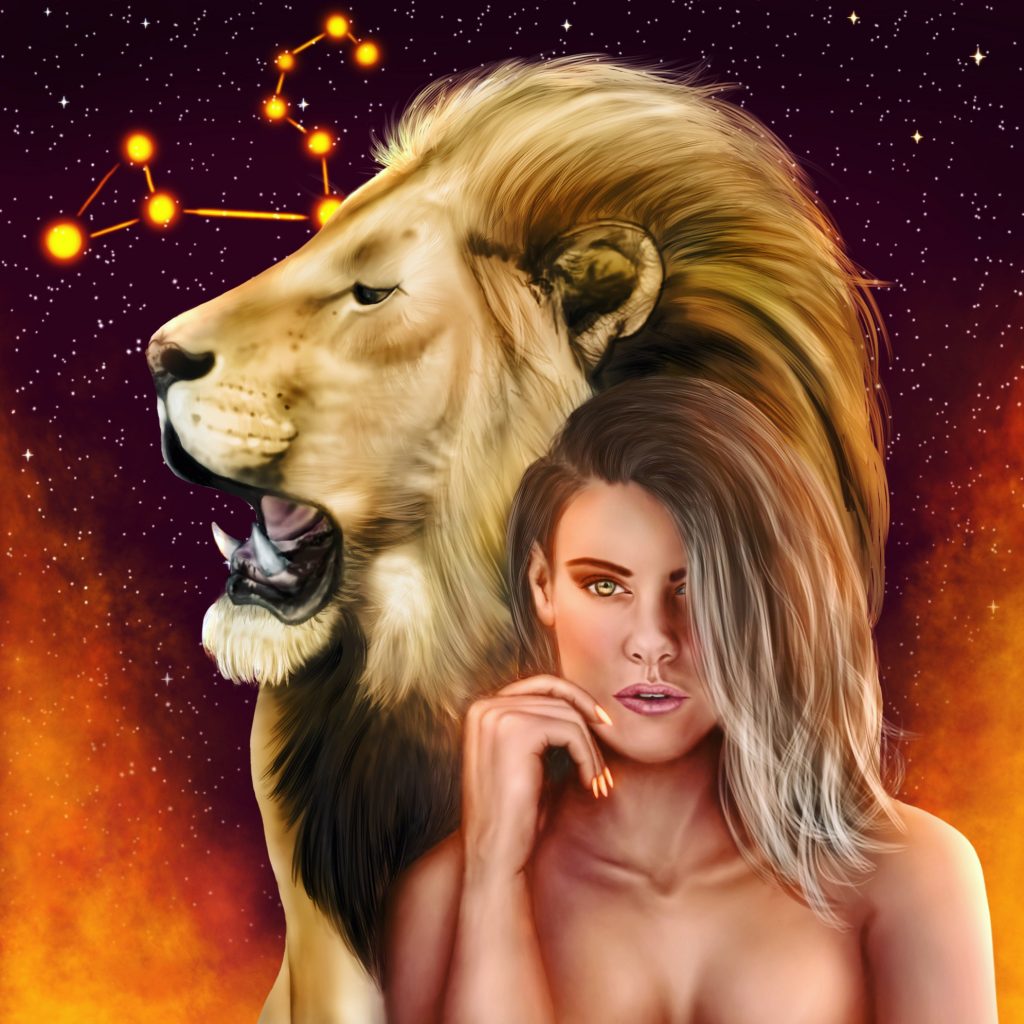
Then I exported my artwork to Photoshop and made some final touches.
Finally, I got my finished painting! What do you think? Do you like it? 🙂
Love, M.